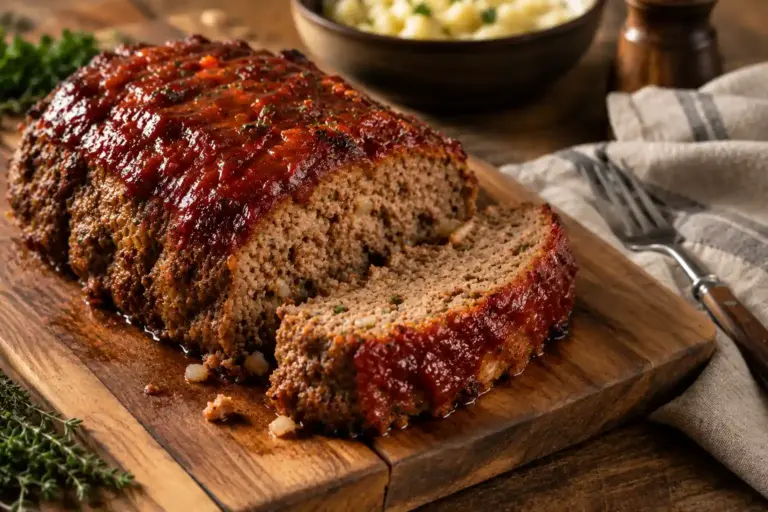
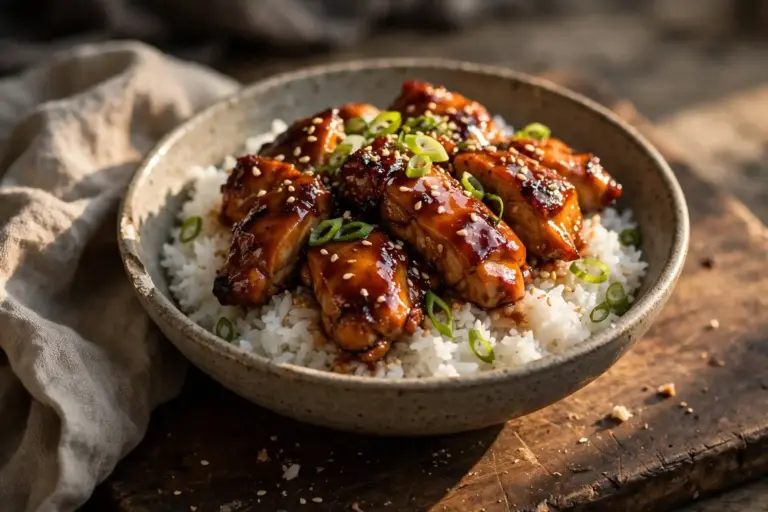
Honey Garlic Chicken Recipe: Sticky Glaze, Ready in 30 Minutes
Honey garlic chicken lives or dies in the last ninety seconds on the stove. The sauce goes from thin and watery to glossy and clinging almost instantly, and thirty seconds past that point it scorches to the bottom of the pan.
Most versions toss the garlic in with the chicken right at the start, so by the time the honey reduces to a real coat, the garlic has gone past golden and turned bitter. The fix is simple: sear the chicken, pull it out, build the glaze on its own, and add the garlic in the final thirty seconds instead of the first five minutes.
This version uses chicken thighs dredged lightly in cornstarch, seared hard in a single skillet, then finished in a honey, soy, and ginger glaze reduced to a syrup thick enough to coat a spoon. Total time lands around 30 minutes, most of it hands off. No marinating, no oven, one skillet to wash.
Why You’ll Love This Honey Garlic Chicken
- One pan, one mess to clean. The sear, the glaze, and the toss happen in the same skillet, so the fond becomes the base of the sauce instead of getting scraped into the sink.
- The garlic stays sweet, not bitter. Added in the last thirty seconds, it never sees the long stretch of near boiling sugar that turns garlic acrid.
- Holds four days in the fridge without the glaze breaking. The cornstarch dredge thickens the sauce enough that it won’t separate on reheat.
- No deep fryer, no double dredge. A single light coat of cornstarch builds a real crust without a wet batter or a pot of hot oil.
- Scales without changing the timing, since the reduction depends on sugar concentration, not pan volume.
Quick Snapshot: Prep 10 minutes, cook 20 minutes, total 30 minutes. Serves 4. Easy. About 380 calories a serving. The ingredient that decides this honey garlic chicken recipe is the honey, since its sugar content is what lets the sauce hit a true glaze. Best for a fast weeknight dinner over rice.
Nutrition Information
| Nutrient | Amount Per Serving |
| Serving Size | 6 oz chicken with sauce (170 g) |
| Servings Per Recipe | 4 |
| Calories | 380 |
| Protein | 29 g |
| Carbohydrates | 34 g |
| Fat | 14 g |
| Fiber | 0 g |
| Sugar | 28 g |
| Sodium | 620 mg |
Most of the protein in this honey garlic chicken comes straight from the thighs, with the glaze contributing almost none. Sugar runs high since honey is the entire sweetener, and sodium climbs from the soy sauce, so a low sodium swap makes a real difference.
These numbers are estimates and will shift with the brand of soy sauce, the honey used, and how closely things get measured.
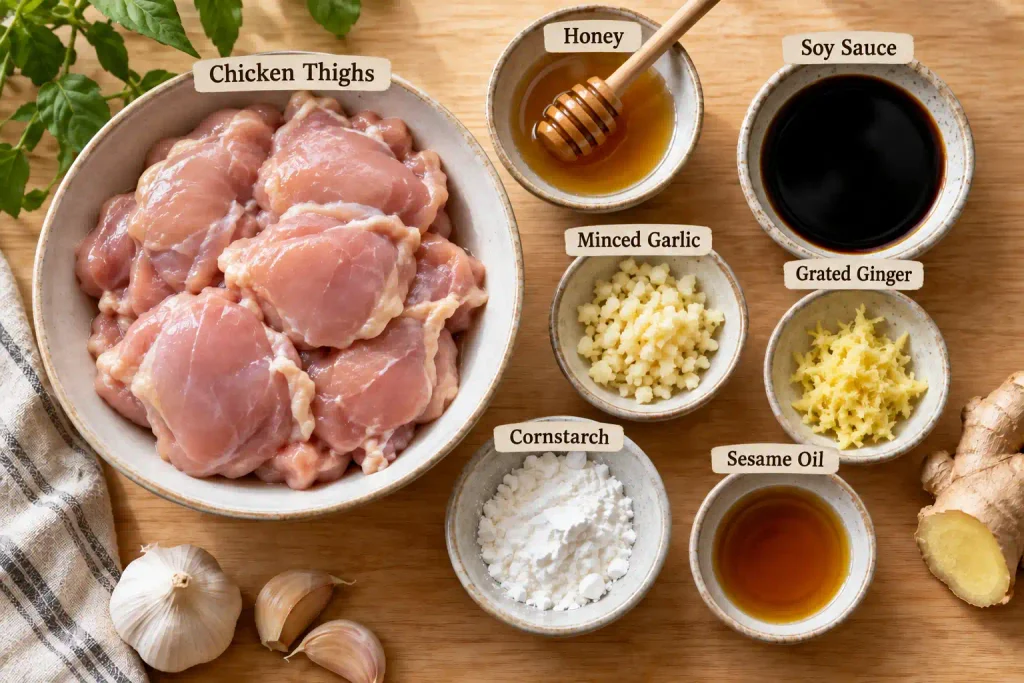
Ingredients
For the Chicken
- 1.5 lb boneless, skinless chicken thighs (680 g), cut into 1.5 inch pieces. Marbled fat keeps thighs juicy through a hard sear; breast works too but dries faster.
- 3 tablespoons cornstarch (24 g), for the dredge
- 1/2 teaspoon salt
- 1/4 teaspoon black pepper
- 2 tablespoons neutral oil (30 ml), for searing
For the Glaze
- 1/3 cup honey (115 g), a lighter style like clover rather than a dark buckwheat honey
- 1/4 cup low sodium soy sauce (60 ml), such as Kikkoman’s lite version
- 1/4 cup chicken broth (60 ml)
- 1 tablespoon rice vinegar (15 ml), cuts the sweetness so the glaze reads savory
- 4 garlic cloves, minced
- 1 tablespoon fresh ginger, minced, or 1/2 teaspoon ground
- 1/2 teaspoon red pepper flakes, optional
- 1 teaspoon toasted sesame oil (5 ml)
For Serving
- 2 green onions, thinly sliced
- 1 tablespoon sesame seeds
Allergen and Dietary Disclosure
This honey garlic chicken carries soy from the soy sauce and sesame from the toasted oil and seeds on top. If a nut allergy matters, check the cornstarch brand, since some are processed on shared lines.
Dietary status as written: halal, dairy free, nut free, egg free. Not gluten free, since soy sauce is brewed with wheat.
Swap tamari for a gluten free version, though it runs saltier, so cut the added salt by half. Drop the sesame oil and seeds for sesame free; the glaze loses its nutty note but still sets up glossy.
The garlic goes in last, not first. Adding it with the chicken at the start is the single most common reason honey garlic sauce turns bitter.
Equipment Needed
- 10 inch stainless or cast iron skillet. It needs to hold real heat through a full batch of honey garlic chicken without dropping into a simmer.
- Instant read thermometer. Thigh meat is forgiving, but pulling it at 165°F rather than guessing keeps it from drying out under the glaze’s extra minutes.
- Fine mesh strainer, for pressing lumps out of cornstarch before it touches the chicken.
- Rubber spatula. Silicone holds up against the glaze’s heat and scrapes up fond a wooden spoon leaves behind.
- Small whisk, for combining the glaze so honey doesn’t clump against leftover cornstarch dust in the bowl.
Getting Everything Ready
Cut this honey garlic chicken into even 1.5 inch pieces, since uneven pieces finish at different rates. Pat it dry; surface moisture steams instead of sears, and cornstarch won’t crisp against wet meat.
Mince the garlic and ginger, and measure the honey, soy sauce, broth, and vinegar into one bowl before the pan goes on. The glaze comes together fast once the chicken is out of the skillet, with no time to chop garlic while sugar catches on the pan bottom.
Get the skillet hot before the oil goes in, then let it shimmer thirty seconds. A pan that’s still too cool is why cornstarch slides off instead of crisping.
How to Make Honey Garlic Chicken Step by Step
Step 1. Dredge the chicken
Toss the chicken with salt and pepper, then add cornstarch and turn until lightly coated. A light dusting is the goal; a heavy coat turns gummy once the glaze hits it. Chef’s Note: if the pieces feel damp again a minute later, that’s just residual moisture, not a mistake.
Step 2. Sear in batches
Lay the chicken into the hot oil in a single layer, working in two batches if pieces crowd the pan. Three minutes on the first side builds a golden crust; flip for two to three minutes more. Chef’s Note: steaming instead of browning means the pan is overcrowded. Pull half the batch back out and finish separately, since crowded chicken releases water that blocks the crust.
Step 3. Rest the seared chicken
The seared pieces come off the heat while the glaze is still ahead: move them to a plate and tent loosely with foil. Internal temperature should read 165°F (74°C) at the thickest piece; a few degrees under is fine here, since the glaze step finishes the cooking.
Step 4. Build the glaze base
Lower the heat to medium and pour the honey, soy sauce, broth, and vinegar into the skillet, scraping up browned bits as the liquid heats. Those bits carry most of the savory depth in the finished sauce.
Step 5. Reduce to a glaze
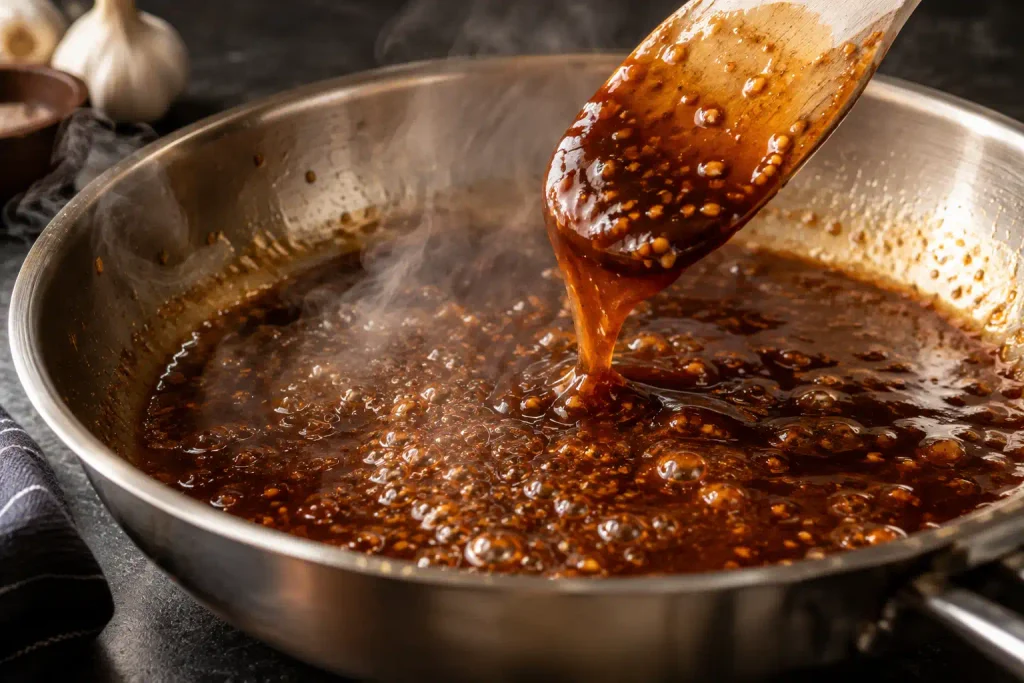
Four to five minutes uncovered is what this reduction takes. It starts thin with bubbles across the whole surface, and it’s ready once the bubbling slows and a spoon dragged through the middle leaves a trail that takes a second to close. Chef’s Note: this is the exact point most honey garlic chicken recipes overshoot. Past it the sugar keeps concentrating and can seize into a hard mass within another minute.
Step 6. Add the garlic last
The spoon trail matters more than the clock. If it’s closing slowly at four minutes instead of five, pull the pan; stove strength varies more than any timer accounts for.
Stir in the garlic, ginger, and red pepper flakes, and cook exactly thirty seconds, stirring the whole time. Garlic added any earlier sits through the full reduction and turns bitter; thirty seconds loses the raw bite without scorching.
Step 7. Toss the chicken back in
Thirty seconds is all this needs: return the chicken and juice on the plate to the skillet with the sesame oil, and turn each piece until coated. That’s enough to warm it through and finish tightening the sauce.
Step 8. Rest before serving
Pull the pan off heat and let it sit two minutes. The glaze sets up slightly as it cools, and chicken served straight off the flame looks wetter than it tastes once rested.
Expert Tips and Tricks
Don’t crowd the pan. This is the easiest way to end up with gray, steamed chicken. Plan on two batches for a pound and a half in a 10 inch skillet.
Make the glaze base up to two days ahead. Combine the honey, soy sauce, broth, and vinegar in a jar and refrigerate, then add garlic fresh before the pan.
Leftover honey garlic chicken keeps its glaze glossy about three days sealed in the fridge. After that, the sauce pulls moisture back out and the texture turns rubbery.
Reduce the glaze in a wider pan if doubling. A narrow pot slows evaporation, pushing the timing out of sync.
Cut the chicken to a consistent size. Uneven pieces are the top reason a batch ends up with dry corners and an undercooked center.
Start the rice while the chicken sears; the glaze takes five minutes total.
This method won’t build quite as deep a lacquer as one finished under a broiler, a fair trade for one skillet and thirty minutes.
Common Mistakes and Troubleshooting
| Problem | Cause | Solution |
| The glaze turns hard and grabs the chicken like candy | The sugar recrystallized past the spoon trail cue | Pull off heat the moment the trail closes slowly; if seized, stir in hot broth over low heat until loosened |
| Garlic tastes sharp and slightly burnt | It went in with the honey instead of the last thirty seconds | Add it in the final thirty seconds next time; extra honey masks bitterness on this batch |
| Chicken has a soggy, gray coating instead of a crust | The pan was overcrowded or not hot enough, so pieces steamed rather than seared | Work in smaller batches and let the oil shimmer thirty seconds first |
| Sauce stays thin and never thickens | The heat was too low to concentrate the sugars, or a wider pan was used | Raise the heat to a steady simmer for two more minutes |
The seized glaze is the failure that actually ruins this honey garlic chicken, and it happens fast. One moment the sauce is glossy and moving easily; thirty seconds later it’s clumped into a hard, taffy like mass stuck to the chicken and pan both. Pull the pan off heat immediately, add a splash of hot broth, and stir over low heat until the sugar dissolves back into a liquid. It won’t be quite as glossy as the first pass, but it saves the batch.
How to Store Honey Garlic Chicken
Chicken shouldn’t sit out past two hours, so there’s no room temperature step, straight to the fridge or freezer once cooled.
Refrigerator
Seal in an airtight container up to 4 days. The glaze thickens further in the cold and clings tighter by day two.
Freezer
Freeze in a single layer on a tray for an hour before bagging, so pieces don’t fuse into one block. Holds up to 3 months. Thaw overnight in the fridge, since the glaze separates if thawed fast.
Reheating
Warm this honey garlic chicken in a skillet over medium low heat with a splash of broth, 4 to 5 minutes. The microwave works at half power in short bursts, but the glaze breaks at full.
Make Ahead
The glaze base keeps in the fridge up to a week, well before the garlic goes in. Sear the chicken fresh the day it’s served, since a reheated crust never crisps back up.
Variations and Substitutions
Spicy version: double the red pepper flakes and stir in a small spoon of chili garlic sauce, cutting some of the honey’s sweetness.
Mild or kid friendly: drop the red pepper flakes and cut the ginger to a half teaspoon. This honey garlic chicken glaze turns sweeter without the flakes, so extra vinegar helps.
Vegetarian: swap the chicken for extra firm tofu, pressed and cubed. It needs a longer sear, closer to five minutes a side, since it holds more moisture.
Gluten free: tamari works here too and deepens the glaze’s color slightly, since it’s more concentrated than regular soy sauce. Double check the cornstarch brand, since some are cut with wheat starch.
Swap honey for maple syrup if that’s on hand; the glaze reduces faster since maple syrup carries less sugar, and the flavor turns less floral.
Serving Suggestions
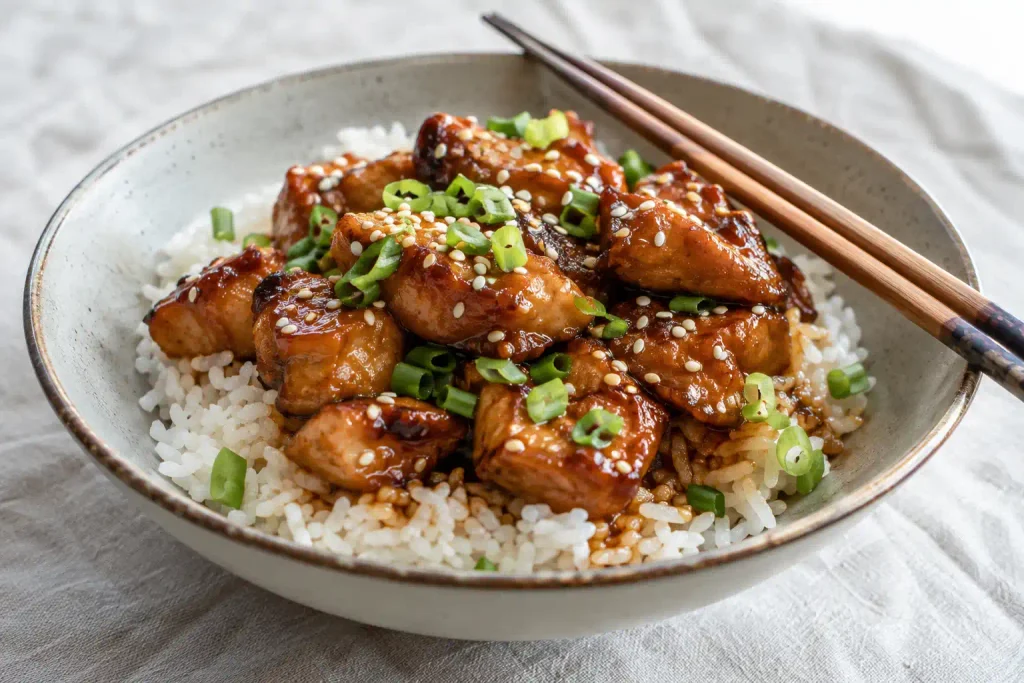
Steamed jasmine rice soaks up the extra glaze this honey garlic chicken leaves behind.
Quick pickled cucumbers cut through the sweetness with a sharp edge the glaze doesn’t have on its own.
Garlicky sesame broccoli keeps the vegetable side in the same flavor family without competing against the sauce.
Iced green tea offsets the sweetness the way the pickles do, and an egg drop soup to start makes it a fuller meal.
Frequently Asked Questions
Can I make honey garlic chicken ahead of time?
The glaze base holds in the fridge for up to a week without the garlic in it, which cuts the actual cook time for this honey garlic chicken to about fifteen minutes on a busy night. Searing the chicken ahead works less well, since the crust softens overnight and never fully recovers. Prep the glaze the night before and sear fresh.
Why did my honey garlic sauce turn hard and sticky?
That happens when the honey passes the syrup stage and the sugar recrystallizes, usually a minute past the point where the spoon trail test says it’s ready. Pull the pan off heat as soon as the trail closes slowly, since even ten extra seconds can tip it over. A seized batch can still be rescued with hot broth stirred in over low heat until it loosens back up.
What can I use instead of soy sauce?
Tamari works as a straight swap for the soy sauce in this honey garlic chicken and makes the dish gluten free, though it runs saltier, so cut the added salt by half. Coconut aminos works for a soy free version, though the glaze turns sweeter and less savory without soy’s depth, so an extra splash of vinegar helps balance it back out.
How do I know the chicken is done without cutting into it?
For honey garlic chicken, an instant read thermometer at the thickest piece should read 165°F (74°C), the most reliable check since color alone is misleading once the glaze coats it. Short of a thermometer, press the center of a piece with a fork; it should feel firm and spring back, not squishy or soft in the middle the way raw chicken does.
My honey garlic chicken always tastes bitter, what’s going on?
Bitterness almost always traces back to the garlic going in too early, usually alongside the chicken or at the start of the reduction. Once minced garlic sits in near boiling liquid for four or five minutes, it browns past golden and turns acrid. Add it in the last thirty seconds instead, once the sauce has already reduced most of the way.
The Last Thing That Actually Decides Dinner
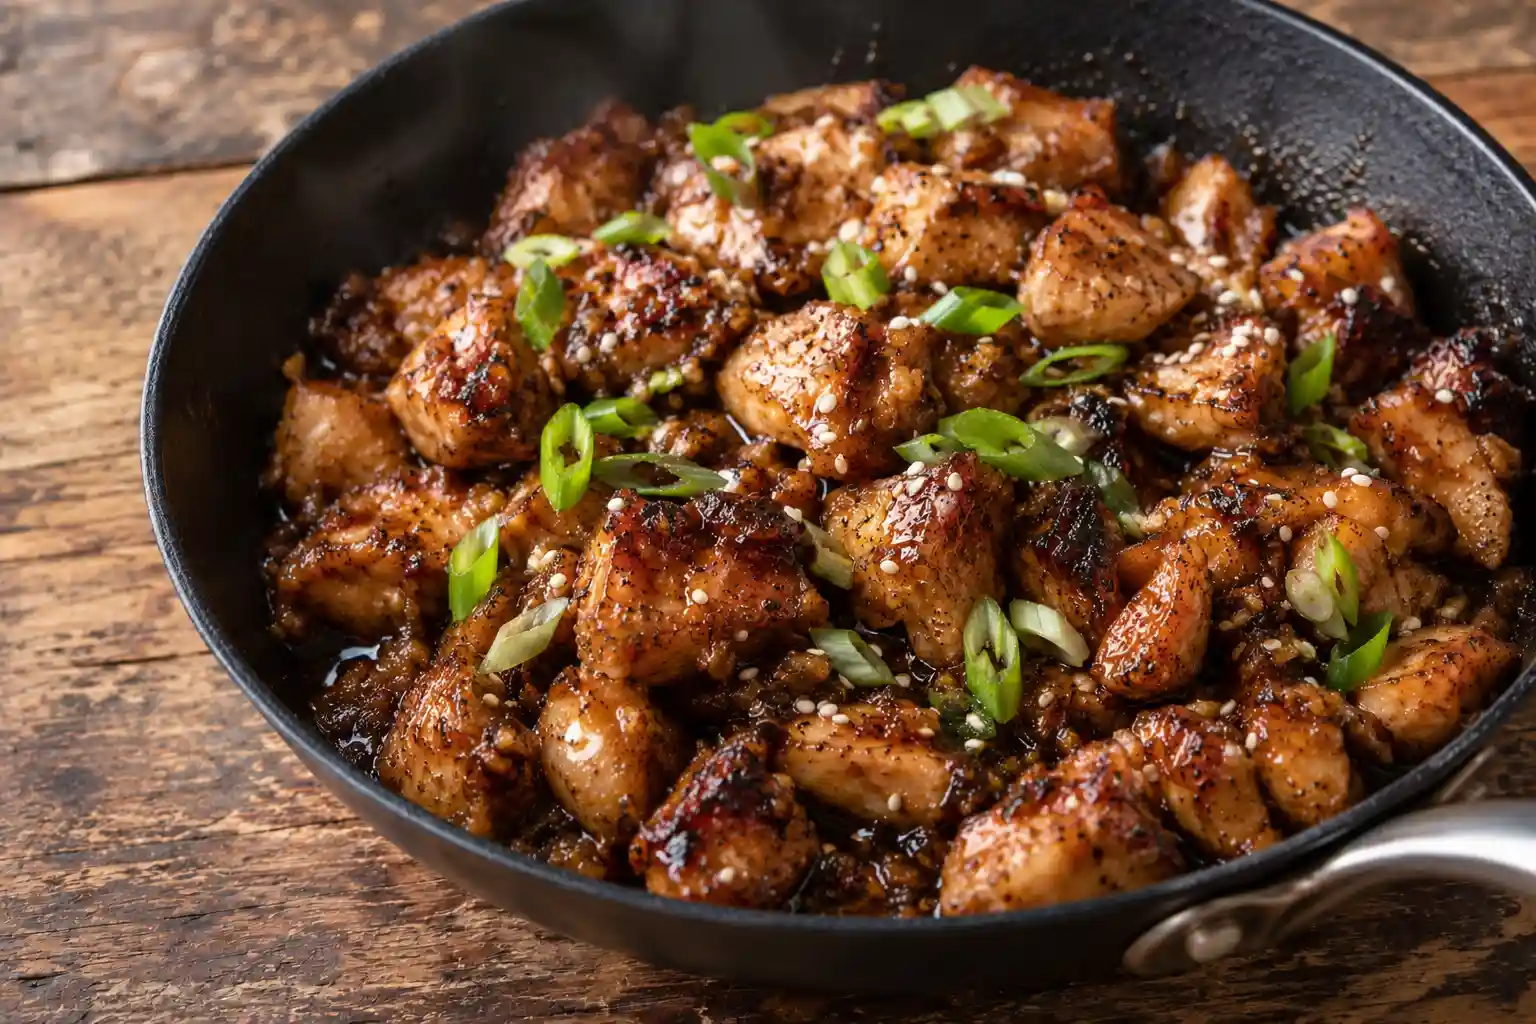
The garlic timing is the one change that actually matters here. Every other honey garlic chicken method still works fine without it, sweet glaze, seared chicken, rice underneath, but pull the garlic out of the first few minutes and push it into the last thirty seconds, and the bitterness that shows up in most versions just isn’t there. Once the glaze hits that slow, heavy bubble and coats a spoon without running straight back off, it’s ready, and it holds that glossy finish through the rest of the week’s leftovers too. Worth pinning, so it’s easy to find again next time chicken thighs go on sale.
Honey Garlic Chicken
Ingredients
Method
- Toss chicken with salt and pepper, then coat evenly in cornstarch.
- Sear in hot oil in batches, 3 minutes per side, until golden.
- Rest seared chicken on a plate, tented with foil.
- Add honey, soy sauce, broth, and vinegar to the same skillet, scraping up browned bits.
- Simmer uncovered 4 to 5 minutes until it coats a spoon.
- Stir in garlic, ginger, and red pepper flakes, cook 30 seconds.
- Return chicken to the pan with sesame oil, toss to coat.
- Rest 2 minutes off heat before serving.